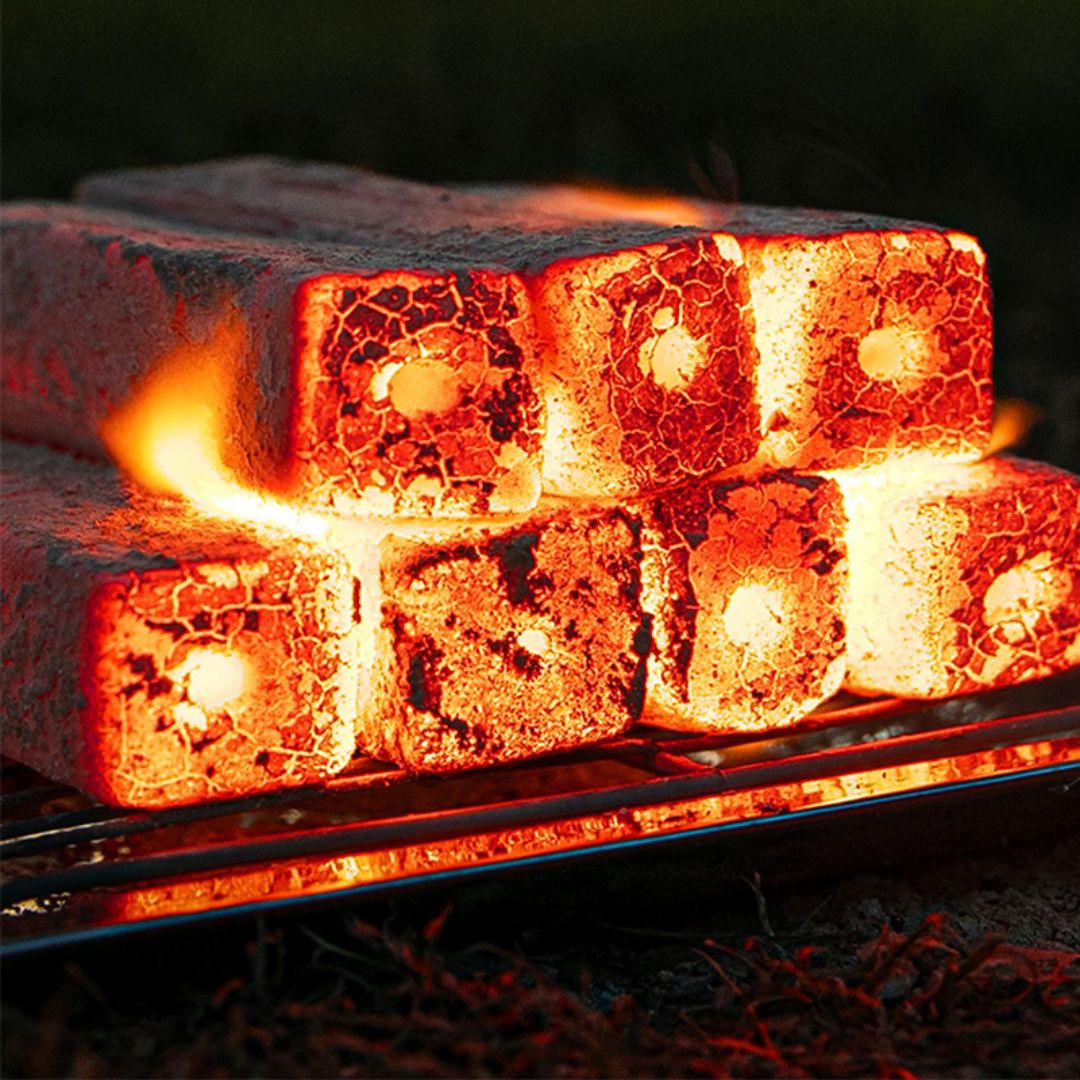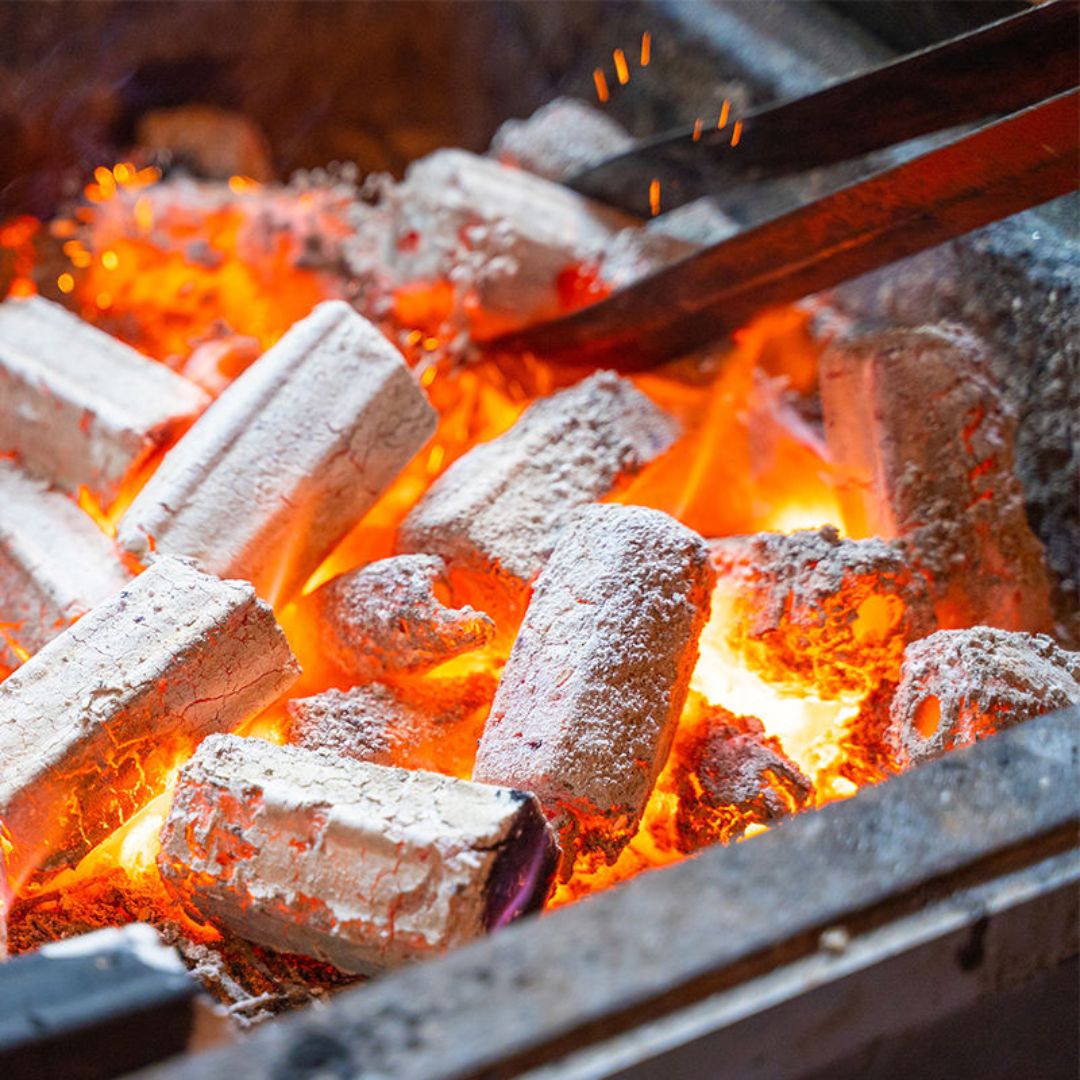


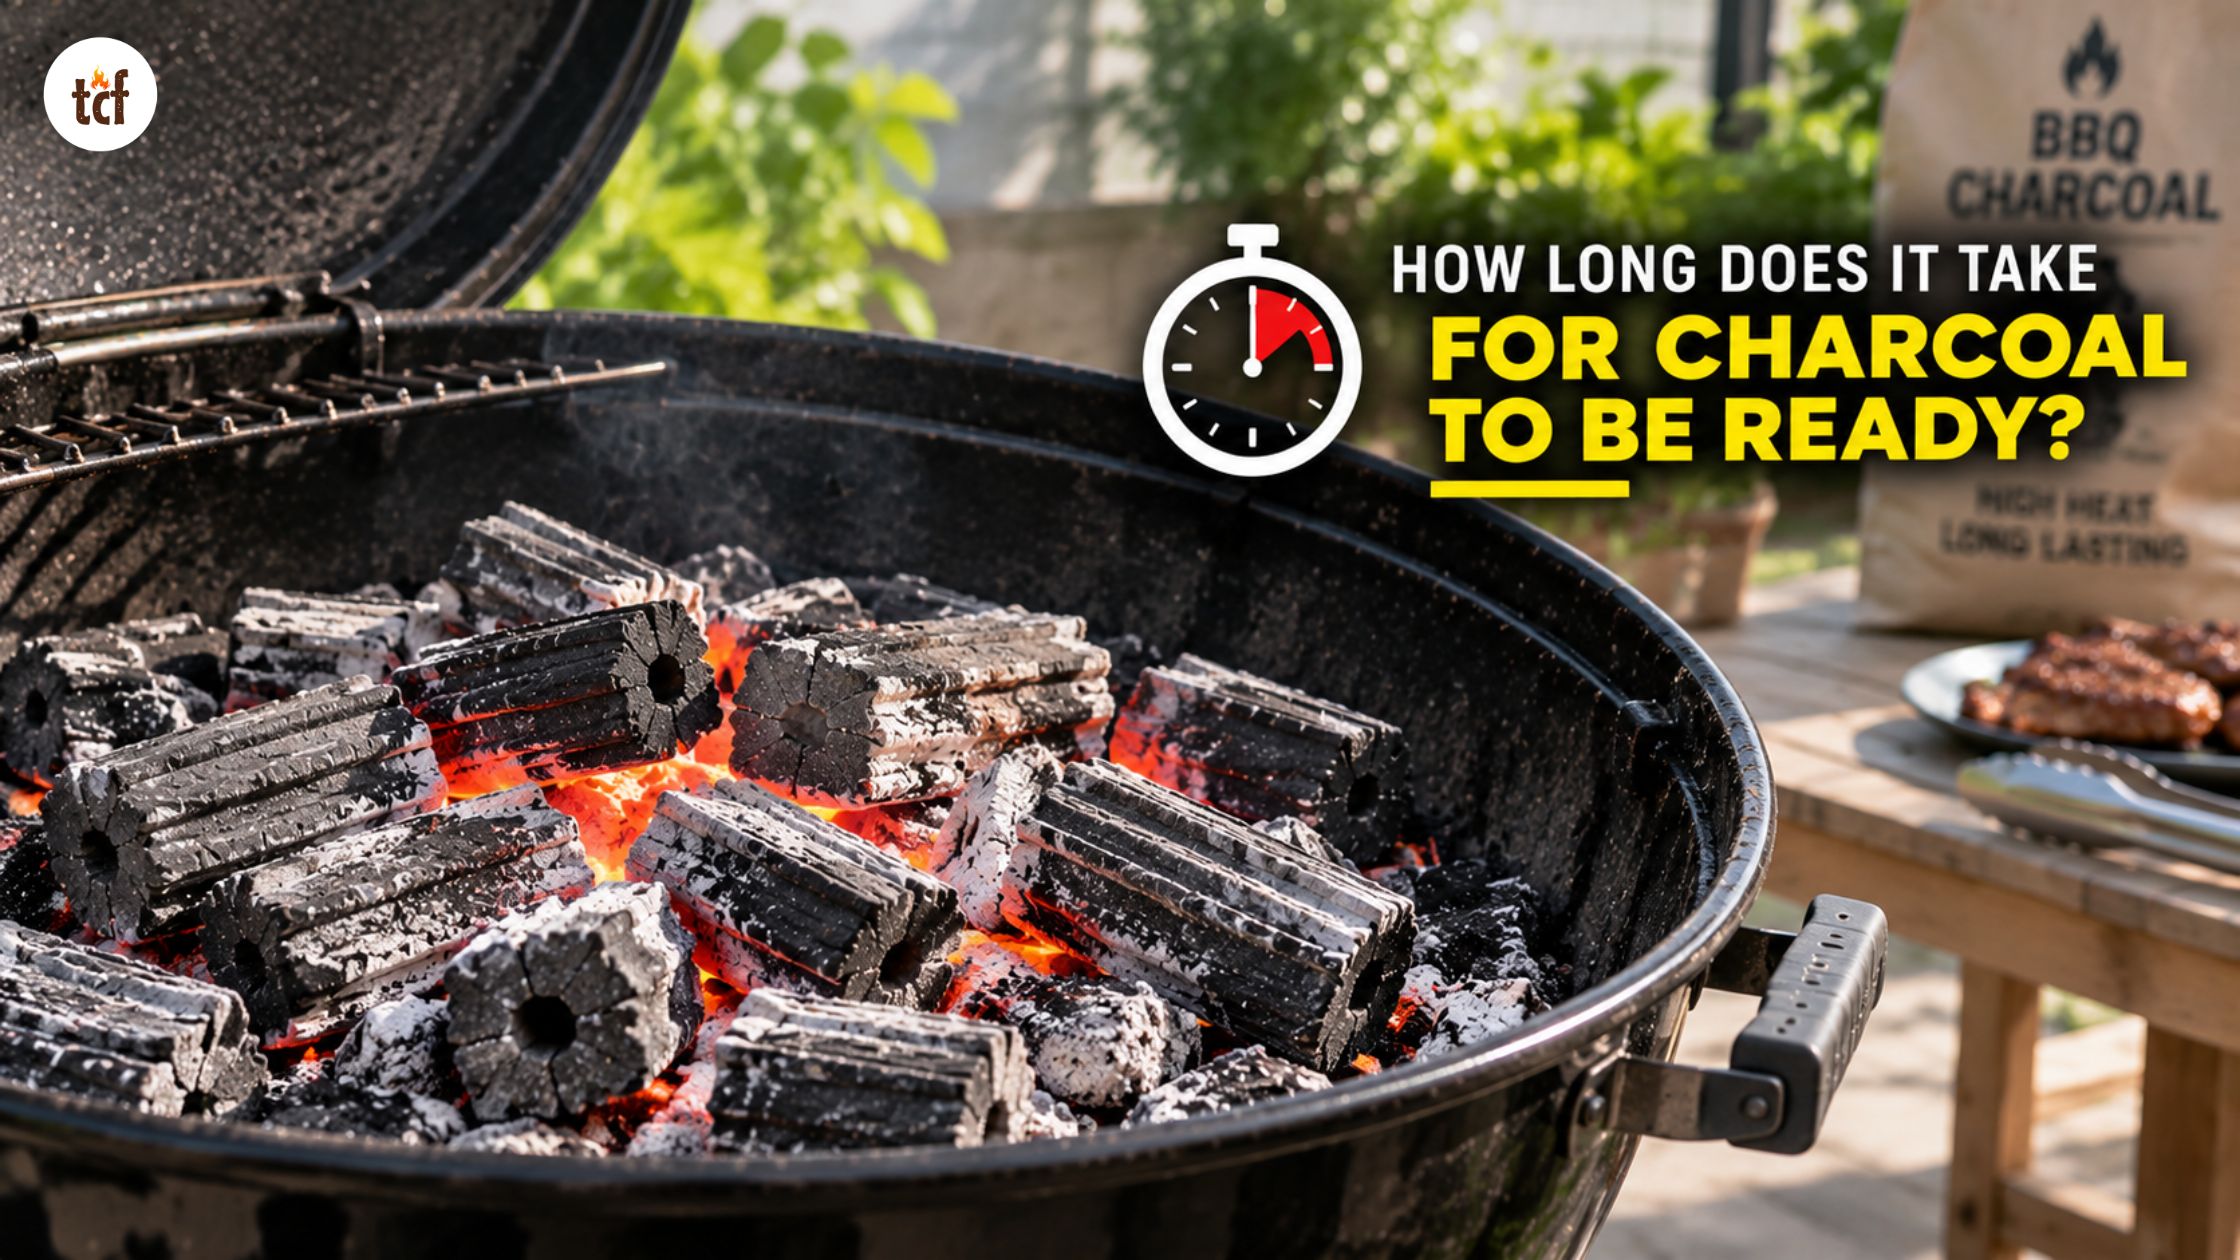
how long does it take for charcoal to be ready? Charcoal is ready to cook on when it has stopped producing large flames, the surface of each piece is covered in a light gray-white ash, and you can see a steady red-orange glow underneath. At this point, typically 15 to 25 minutes after lighting, the fire has stabilized, heat is even, and the harsh smoke that causes bitter food flavors has burned off. Cooking before this stage is one of the most common mistakes charcoal grillers make.
Table of Contents
Why Timing Your Charcoal Matters More Than You Think
Most grilling mistakes don’t happen at the seasoning stage or the flip. They happen at the very beginning, before the food even hits the grate.
Put food on too early, and you’re cooking over uneven, unstable heat with thick, acrid smoke still pouring from partially lit coals. The result: charred outsides, raw insides, and a bitter taste that no sauce can fix.
Wait too long, and your coals start cooling down. You lose the peak heat window and end up cooking over a dying fire that struggles to sear properly.
The sweet spot is narrow — but once you know the signs, hitting it every time becomes second nature.
This guide covers every visual cue, timing benchmark, and heat test you need to know, across all charcoal types.
The 3 Stages of a Charcoal Fire (And When to Cook)
Charcoal doesn’t jump from cold to cooking-ready instantly. It moves through three distinct phases, and understanding them removes all the guesswork.
Stage 1: Ignition Phase: Do Not Cook Yet
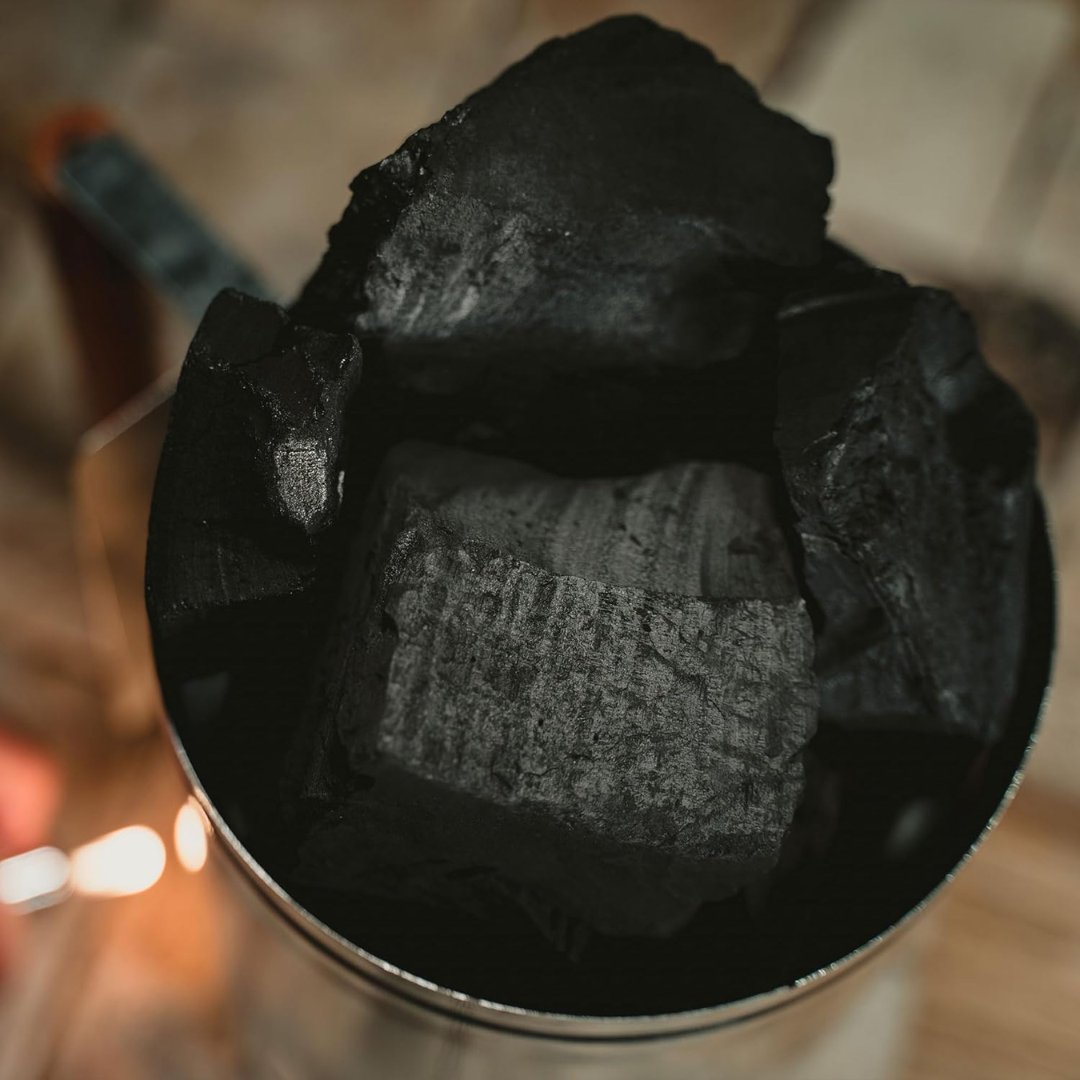
What you’ll see: Large, high flames. Black, shiny charcoal. Thick white or gray smoke billows upward. Loud crackling sounds.
What’s happening: The charcoal is burning off moisture, surface materials, and, in the case of briquettes, the binders and additives used in manufacturing. This is also the phase where lighter fluid — if used — is still combusting.
Why you must wait: The smoke at this stage is harsh and full of compounds that will make your food taste bitter and acrid. Heat is also wildly uneven, with some spots blazing and others barely lit. Putting food on now is a guaranteed way to ruin the cook.
The type of charcoal you’re using directly affects how long this stage lasts and what it looks like.
Stage 2: Transition Phase — Getting Close
What you’ll see: Flames are calming and becoming smaller. The surface of the coals starts developing a grayish coating on the outside edges. You’ll see the first hints of orange-red glow beneath the surface. Smoke is thinning from thick white to lighter, wispier plumes.
What’s happening: The charcoal has fully caught and is transitioning from combustion to steady radiant heat. Airflow through the coals is evening out. Temperature is climbing toward its peak.
Should you cook? For most cooks, not quite yet. However, if you’re cooking something that benefits from a little extra smoke — like whole cuts of chicken or thick pork chops — you might choose to start here for added flavor.
Stage 3: Ready Phase — Cook Now
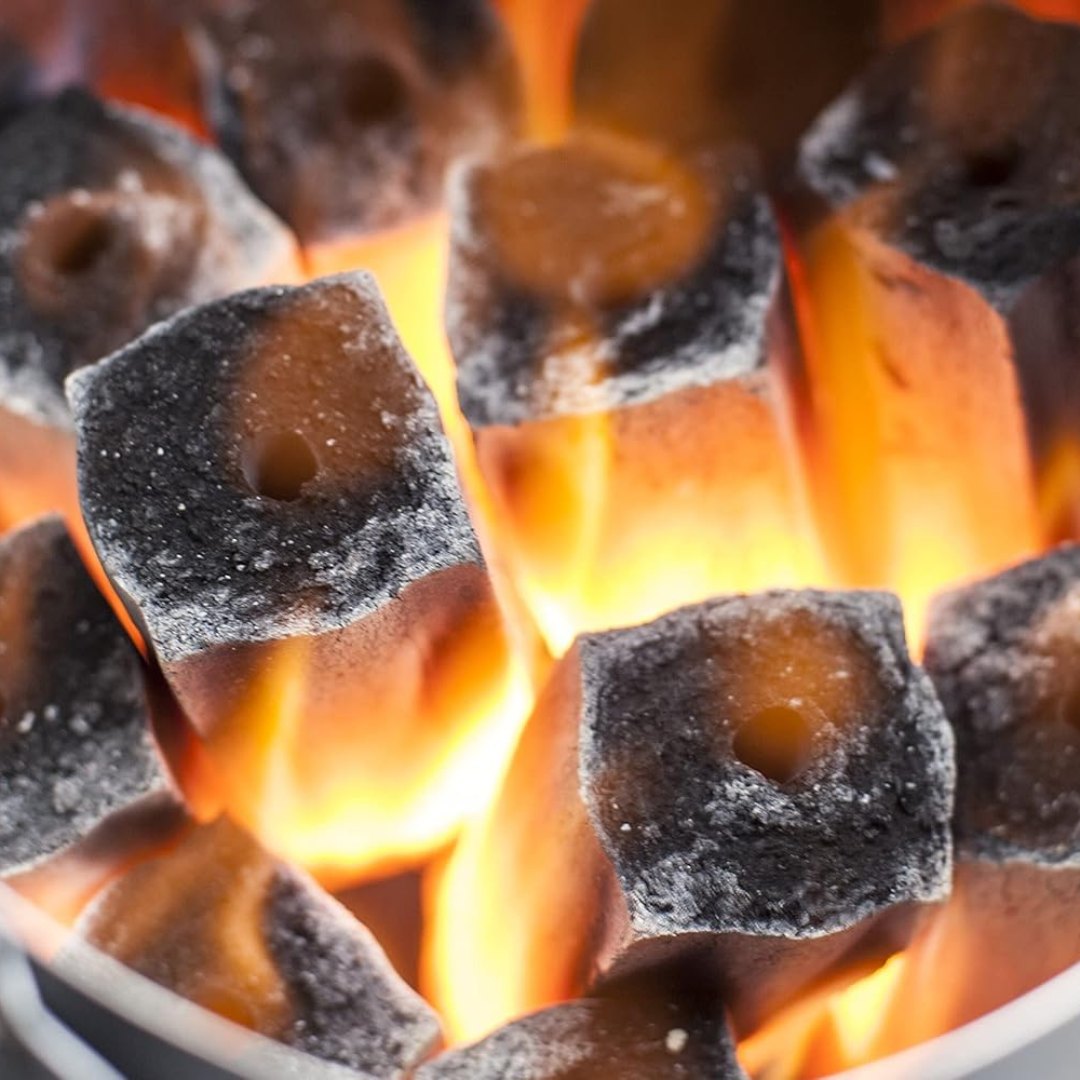
What you’ll see: Even, consistent gray-white ash coating the surface of every piece. No large flames — just a steady, radiant red-orange glow visible from the sides and bottom of each coal. Smoke has become thin or nearly invisible.
What’s happening: Your charcoal has reached peak thermal output and stable combustion. The fire is no longer “fighting” to burn — it’s simply radiating clean, consistent heat.
This is your cooking window. The heat is even, controllable, and at its most flavorful.
The Key Visual Check: If you can see even a single piece of charcoal that is still completely black with no ash coating at all, wait. Every piece should be at least partially ashed over before you start cooking.
Also read – Charcoal grades explained
How Long Does Charcoal Take to Be Ready?
Timing varies based on charcoal type, quantity, and method of lighting. Here’s a reliable breakdown for 2026:
| Method & Charcoal Type | Time to Ready |
| Chimney starter — Lump charcoal | 12–18 minutes |
| Chimney starter — Briquettes | 20–25 minutes |
| Lighter fluid — Lump charcoal | 15–20 minutes |
| Lighter fluid — Briquettes | 20–30 minutes |
| Electric starter — Any type | 10–15 minutes |
Why does lump charcoal get ready faster? Because it’s made from pure carbonized wood with no binders or fillers — essentially, it’s a more direct fuel source. You can read more about what lump charcoal is actually made of and why that affects its burn behavior.
Why do briquettes take longer? Briquettes are manufactured from compressed charcoal dust mixed with binders, starches, and sometimes additional combustible materials. That manufacturing process — which you can explore in detail in how charcoal briquettes are made — creates a denser product that needs more time to fully ignite and ash over.
The weather also plays a role. Cold temperatures, high humidity, and wind all extend lighting time. On a cold winter day, add 5–10 minutes to any estimate above. Wind can help or hurt — it can fan the flames faster, but also cool the outer coals unevenly.
4 Ways to Tell If Your Charcoal Is Ready (Without a Thermometer)
1. The Ash Test (Most Reliable)
Every piece of charcoal should have a visible coating of light gray or white ash on the outside. This is the most reliable visual indicator that charcoal has fully ignited and is burning at a steady temperature. Partially ashed means still transitioning. Fully ashed means ready.
This ash layer actually tells you something important about the charcoal’s quality. High-quality charcoal with low ash content produces a fine, uniform ash that’s easy to read. Lower-quality charcoal can produce thicker, flakier ash that makes it harder to judge readiness.
2. The Glow Test
Look at the coals from the side or lift the grill grate and look through. You should see a consistent orange-red glow from underneath the ash layer. If parts of the coal bed are dark with no glow, those sections aren’t ready yet.
3. The Smoke Test
Ready charcoal produces minimal smoke — or a thin, almost invisible wisp that drifts slowly. Heavy, billowing white or gray smoke means the charcoal is still in its early burn phase. Wait until the smoke clears.
4. The Hand Test (Heat Zones)
Hold your open palm about 6 inches above the grill grate. Count the seconds you can comfortably hold it there:
- 2–3 seconds: High heat (450°F+) — ideal for searing steaks and burgers
- 4–5 seconds: Medium heat (350–450°F) — ideal for chicken, vegetables, fish
- 6–7 seconds: Low heat (250–350°F) — ideal for sausages, slow-cooking, indirect grilling
- 8+ seconds: Coals are cooling — may need to add fresh charcoal
This test works regardless of charcoal type. It tells you not just if the charcoal is ready, but how ready — and which cooking technique will work best at that moment.
Also read – charcoal manufacturers uk
Lump Charcoal vs. Briquettes: Ready-to-Cook Differences
These two behave differently at every stage of a cook, including the readiness window.
Lump Charcoal lights faster, reaches higher peak temperatures, and ashes over more quickly. It’s made from machine-made wood charcoal or natural hardwood pieces, giving it a clean burn profile. Once ready, it burns very hot — great for searing. The downside: it burns faster and requires more attention to maintain temperatures.
Briquettes take longer to reach the ready stage, but once there, they maintain a more consistent and predictable temperature for longer periods. This makes them the preferred choice for low-and-slow cooks.Shaped wood charcoal products fall into this category — uniform shape equals more predictable airflow and combustion.
Bamboo charcoal is an increasingly popular alternative in 2026 that performs differently from both. It burns longer and cleaner than most wood charcoals and tends to be ready in a timeframe similar to lump. If you’re working with machine-made bamboo charcoal or shaped bamboo charcoal, expect a similar readiness timeline to lump — roughly 15–20 minutes — with a slightly longer overall burn.
For a deeper comparison of how wood and coconut charcoal differ in heat behavior, the wood vs. coconut charcoal breakdown covers that in detail.
Also read – Lump charcoal vs Briquettes
The Biggest Mistakes Grillers Make with Charcoal Readiness
Mistake 1: Cooking While Flames Are Still High
This is the most common error, especially among newer grillers. High flames feel like “maximum heat,” but they’re actually the least controlled and least flavorful phase of a charcoal fire. Always wait for flames to subside.
Mistake 2: Judging Readiness by Time Alone
“I’ve been waiting 20 minutes, it should be ready.” Not necessarily. Charcoal amount, humidity, wind, and charcoal quality all affect timing. Always pair a time estimate with a visual check. The ash test and glow test don’t lie.
Mistake 3: Using Low-Quality Charcoal
Poorly made charcoal burns inconsistently, produces more ash, and is harder to judge for readiness. Understanding charcoal quality specifications matters — fixed carbon content, moisture levels, and ash percentages all affect how predictably your charcoal moves through its burn stages.
Mistake 4: Overloading the Grill with Charcoal
More charcoal doesn’t always mean faster readiness. Packing too many pieces together restricts airflow, which actually slows the ignition process and creates hot and cold spots. A properly filled chimney starter and a well-spread coal bed are always more effective than a mountain of charcoal.
Mistake 5: Not Using a Chimney Starter
A chimney starter is the single biggest improvement most charcoal grillers can make to their process. It preheats all the coals evenly before they go into the grill, so by the time you pour them in, the entire batch is at the same stage — not half lit and half black. This makes judging readiness dramatically easier and more consistent.
Ready Charcoal for Different Cooking Styles
The “ready” stage isn’t a single temperature — it’s a range. Different cooks need different levels within that range.
High-Heat Searing (Steaks, Burgers, Chops) Use charcoal right at peak heat — when ash is just fully formed and the glow is brightest. This is the hottest point in the burn cycle (typically 450–600°F). Don’t let it cool down before adding food.
Medium-Heat Grilling (Chicken, Fish, Vegetables) Let the coals sit for 5 minutes after peak before starting. Temperature drops to a more moderate 350–450°F range, which gives you more control and prevents burning delicate proteins.
Low-and-Slow BBQ (Brisket, Ribs, Pulled Pork) For smoking and slow cooking, you actually want the coals partially into their cooling curve, not at their hottest. You’re targeting 225–275°F sustained over hours — which means managing airflow through vents, not necessarily waiting for a hotter window. Briquettes or shaped bamboo charcoal are preferred here for their longer, more consistent burn.
Restaurants & Bulk Commercial Cooking Professional kitchens and high-volume catering operations that go through large quantities of charcoal benefit from understanding these phases at a larger scale. Bulk charcoal sourced to consistent quality specifications makes it possible to standardize lighting times across multiple grills. Bulk sourcing from wholesale wood charcoal or wholesale bamboo charcoal suppliers ensures predictable performance session to session.
A Note on Shisha Charcoal
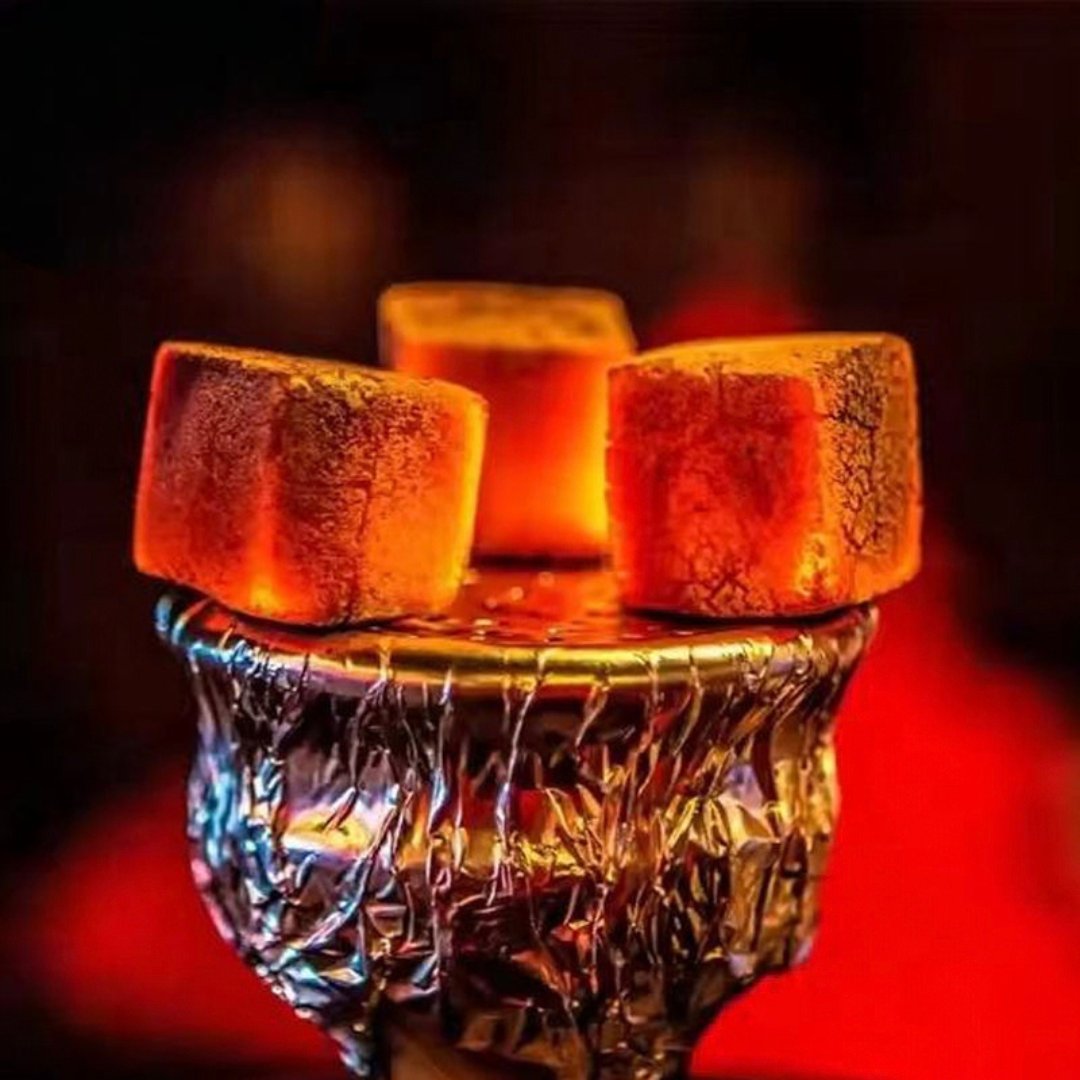
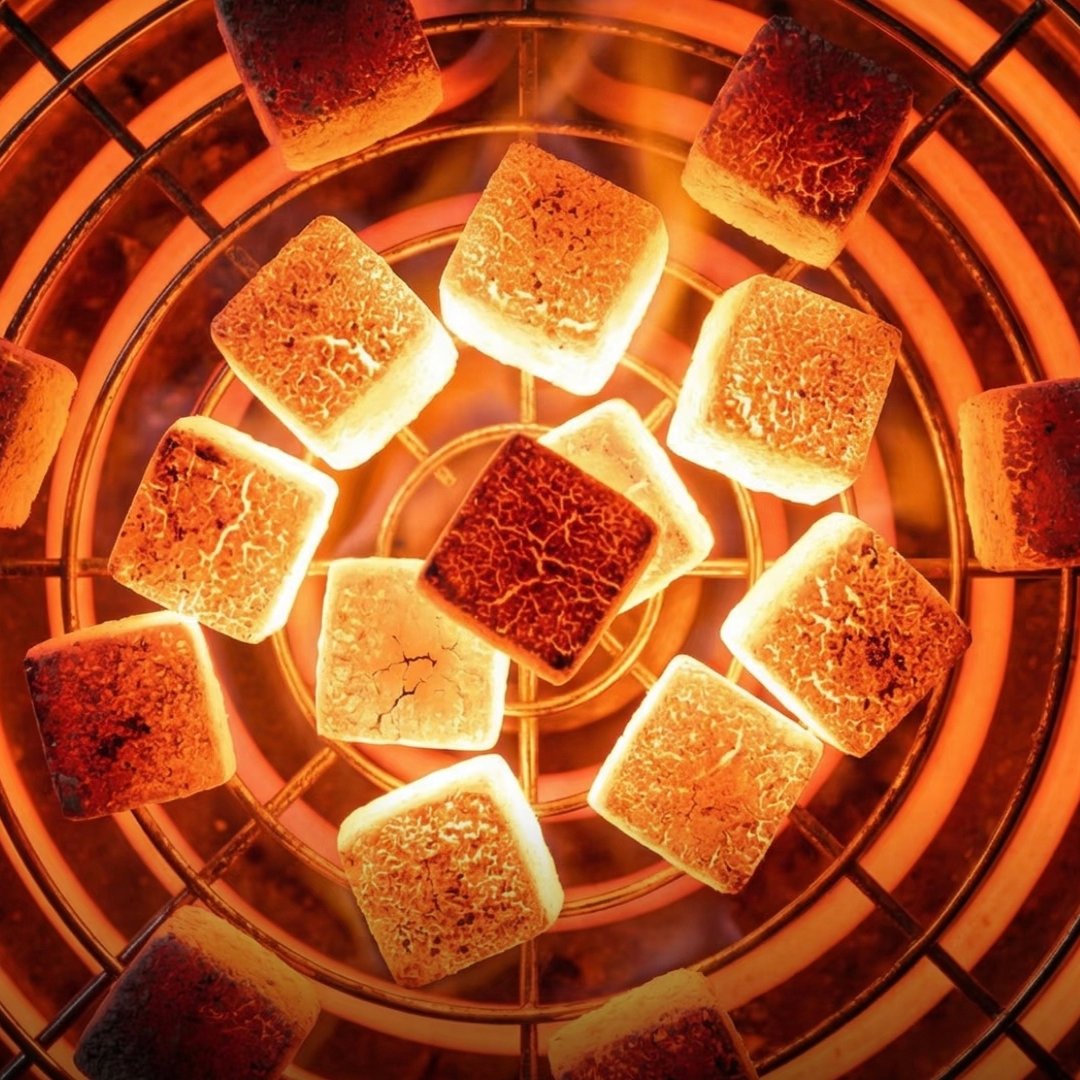
Shisha and hookah charcoal operate under completely different readiness rules than grilling charcoal. You need it glowing on all sides — not just ashed over on the top.
Machine-made shisha charcoal and shaped shisha charcoal are typically heated on an electric burner for 8–12 minutes, turned once, until the entire piece is uniformly glowing orange-red with no black spots. Placing partially lit shisha charcoal on a hookah bowl produces harsh, chemical-tasting smoke — the same principle as cooking over unready grilling charcoal, just in a different context.
The Bottom Line
Charcoal is ready to cook on when you can see a uniform gray-white ash on every piece, a steady orange-red glow underneath, and the smoke has thinned to near nothing. For lump charcoal, that’s typically 12–18 minutes from lighting. For briquettes, plan for 20–30 minutes.
The ash test, the glow test, the smoke test, and the hand test are your four tools. Use them in combination, and you’ll never have to guess again.
Most importantly, patience is a skill. The wait from ignition to ready charcoal is where great grilling actually begins — before the food ever hits the grate.
Frequently Asked Questions
How do you know when charcoal is ready without a thermometer?
Look for three things simultaneously: gray-white ash covering the surface of every piece, a consistent red-orange glow visible underneath the ash, and smoke that has thinned from thick white to barely visible. When all three are present, your charcoal is ready.
Can you cook on charcoal when it’s still black?
You can, but you shouldn’t. Black charcoal is still in its ignition phase — the combustion is uneven, the smoke is harsh, and temperatures are unstable. Food cooked over unready charcoal often tastes bitter and cooks unevenly.
Is it okay to add more charcoal after cooking starts?
Yes. Add fresh charcoal to the edges of the existing coal bed, not directly under the food. It will take 10–15 minutes for the new pieces to catch. Never douse the grill with new charcoal mid-cook — it interrupts the temperature and adds harsh smoke.
What if charcoal won’t ash over properly?
Likely causes: too much moisture in the charcoal, restricted airflow from overcrowding, or low-quality charcoal with poor fixed carbon content. Try spacing the coals out, opening your vents wider, or checking if your charcoal has been exposed to moisture.
Does charcoal type affect how quickly it’s ready?
Yes, significantly. Lump charcoal is ready in 12–18 minutes. Briquettes take 20–30 minutes. Bamboo charcoal falls closer to lump in timing. The charcoal manufacturing process is the root reason — density, binder content, and moisture levels at production all determine how the charcoal behaves during lighting.